Self-hosting your source code can be an attractive idea from a security perspective but securing your server is extra overhead and sometimes a different skill set. GitLab is a great piece of software for self-hosting your git repositories but it has had some recent security issues and others in the past. You definitely don’t want to expose an instance directly to the internet but running a VPN server, bastion host or jumpbox is another overhead and requires security hardening, maintenance and patching itself.
In this post we will show how to create a private GitLab installation that has no ports open to the public internet that you can still easily access from development machines. We will do this by installing Enclave and establishing Zero Trust Network Access (ZTNA) from development machines to the source code repository.
Install GitLab
You may already have a self-hosted server but in this post we’re going to spin up a GitLab instance on DigitalOcean to demonstrate how everything works. If you would like to try this for yourself then you can use this referral link to get $100 in credit over 60 days and give it a go for free. We’ll keep this section fairly light so feel free to set up a server on your own hosting and skip to the next section.
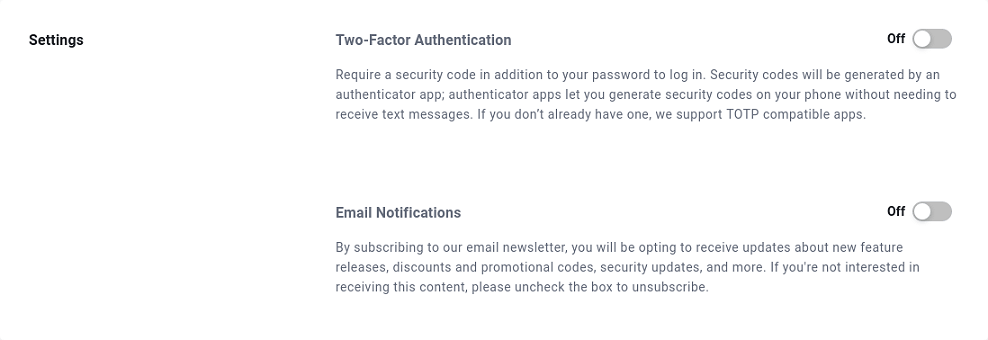
Sign up for a DigitalOcean account if you don’t have one, a credit card is required. You probably want to enable MFA with an authenticator app and unsubscribe from emails before you forget.
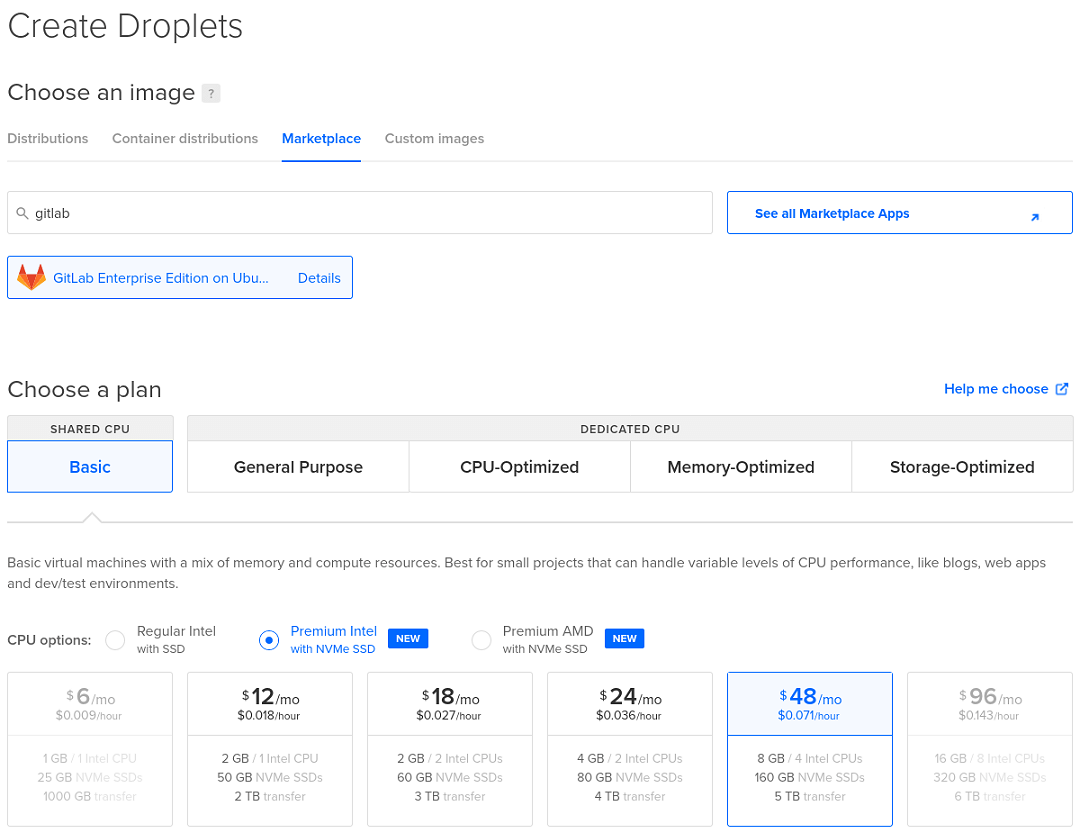
Create a droplet with GitLab EE from the marketplace and go for the default 8GB 4-core option or things will be super slow. Select the region closest to you and enable SSH with keys (as this is more secure and easier than using a password).
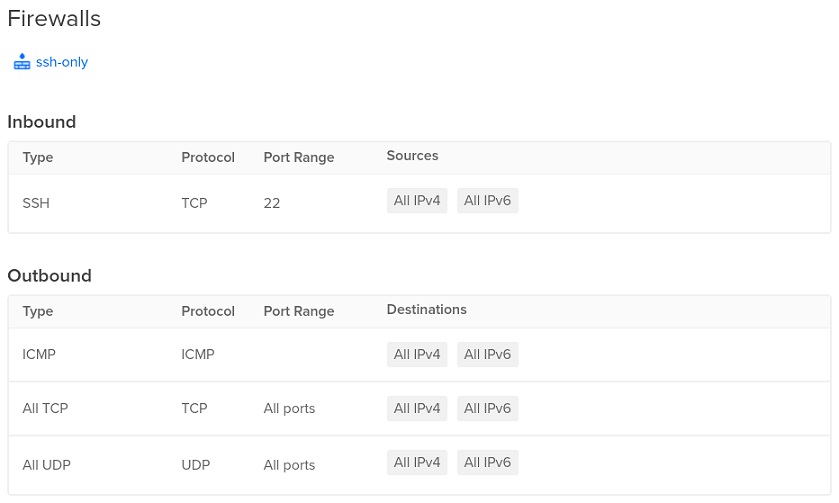
Droplets are exposed to the internet by default (other providers do this differently) so we need to create a firewall immediately that only allows SSH traffic in (default rules). Later we will block even SSH connections, after we have set up Enclave.
Select the droplet, go to “Networking” and click “Edit” under “Firewalls” at the bottom. Then create a firewall with the default rules or add a droplet to an existing firewall if you already have one. The “Firewalls” section of “Networking” for your droplet should now show only SSH on TCP port 22 is allowed in.
Now wait about ten minutes for GitLab to be installed and for the activity graphs to die down. Once this is done we can update the machine (doing this during the initial set up may cause conflicts).
Connect to the machine using the web console or SSH in a local terminal (ssh root@<PUBLIC-IP>). Fully update the machine (apt-get update && apt-get upgrade -y) or at least update GitLab (apt update && apt install gitlab-ee) to patch the latest critical security issue (version 14.8.2 at the time of writing in March 2022). You may need to use apt-get dist-upgrade (or apt full-upgrade) if some packages won’t upgrade, then reboot the system.
Register for an Enclave account
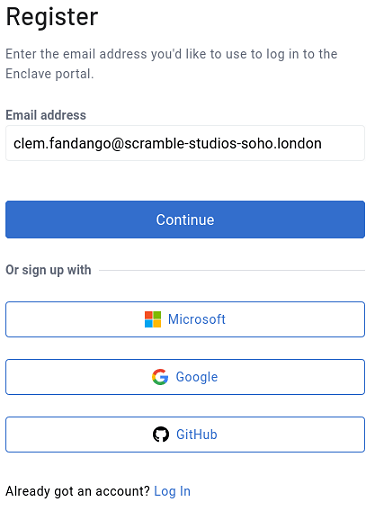
While we wait, we can register for a free Enclave account if you have not already got one (no credit card required). You can use email or a Microsoft/Google/GitHub account.
You may want to enable Two-Factor Authentication at this point on your My Account page.
Enrol systems to your Enclave account
Once the machine is ready and updated we can install Enclave. Reconnect to SSH if not connected already or if you had to reboot after updating the system.
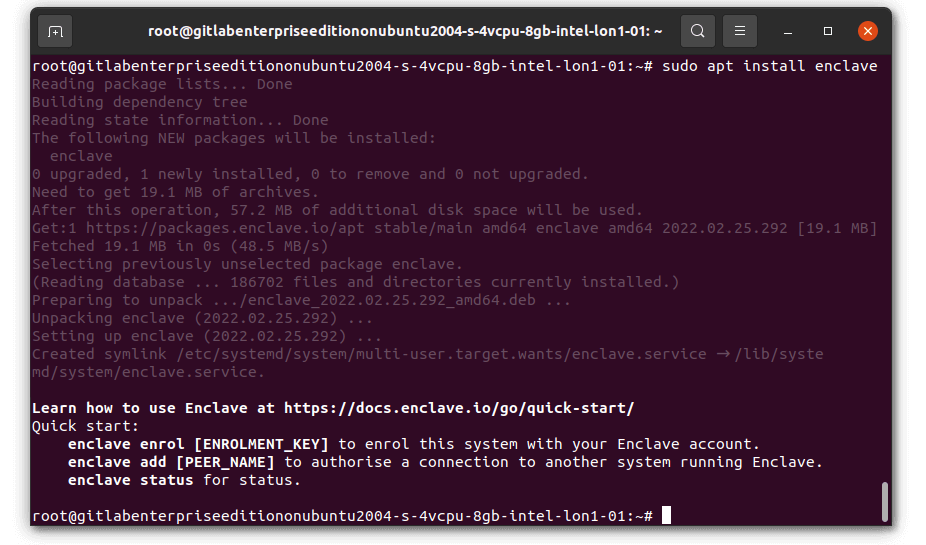
Select “Enrol a New System” (in the sidebar on the left under the “Start” section) in the Enclave Portal, then select the Linux tab and select Ubuntu (the default option) in the dropdown. Follow the instructions to paste the commands into your SSH session to add the signing key / repository and install Enclave with the built-in apt package manager.
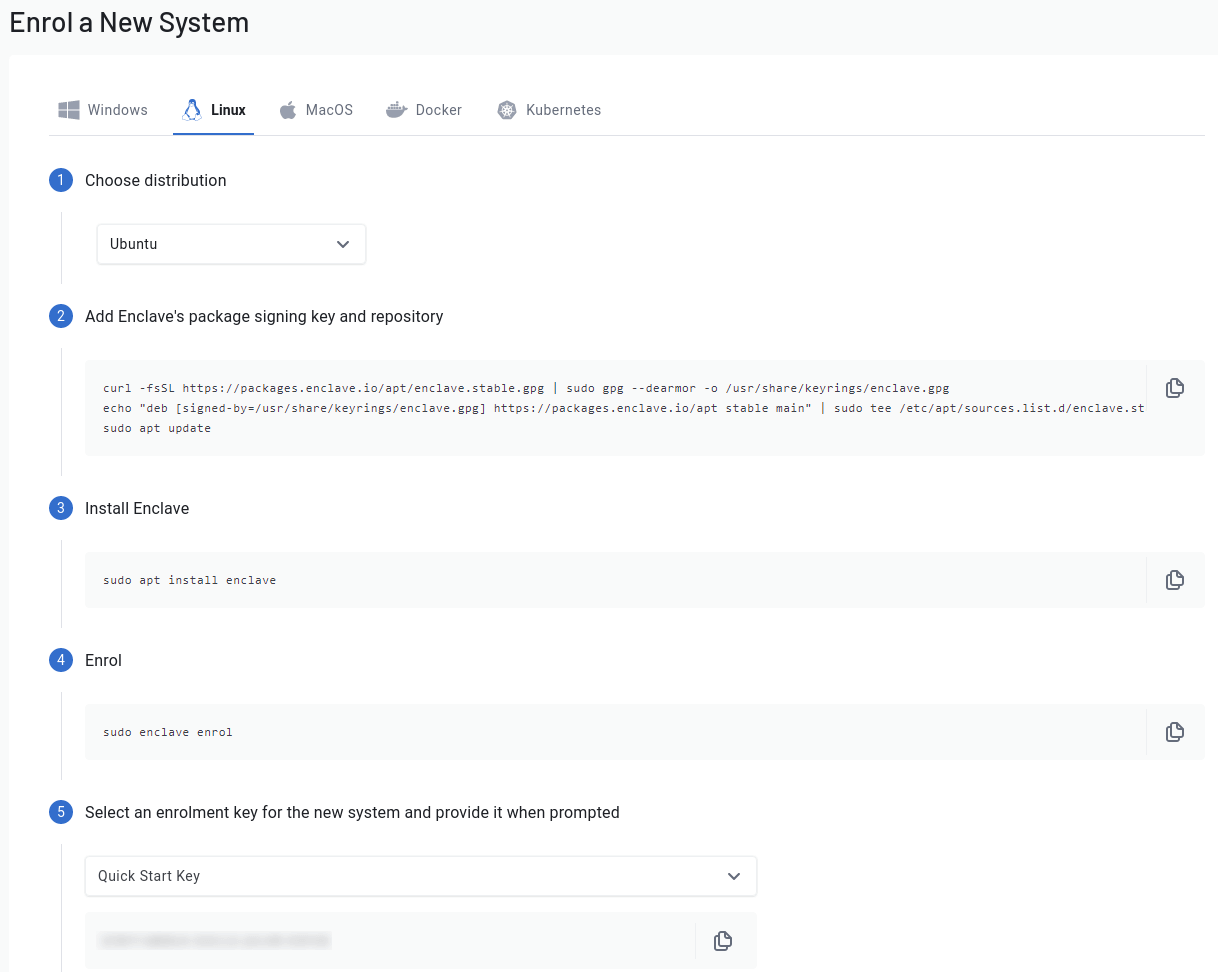
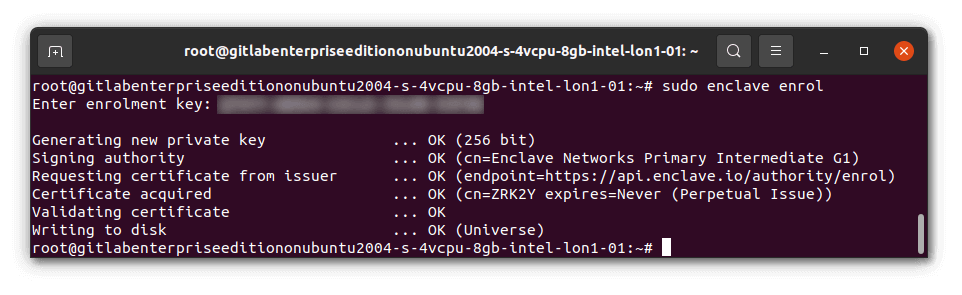
Once installed, you’ll need to Enrol this system to your Enclave account. Enrol the server by running sudo enclave enrol and select a key from the drop down so that you can easily copy/paste it in. You can use the automatically-created “Quick Start Key” or create a new one beforehand if you prefer.
That’s it! You’re ready to build a private network.
Hide the Droplet
Now that Enclave is installed and the machine is enrolled, we can close the DigitalOcean firewall to block public SSH access, and any other ports we don’t want open to the public Internet. Create a new droplet firewall that does not have any open incoming ports and add the droplet to this firewall. Remove the droplet from the original SSH-only firewall (the rules are additive) and check that your existing SSH connections timeout (with the web console or a local terminal).
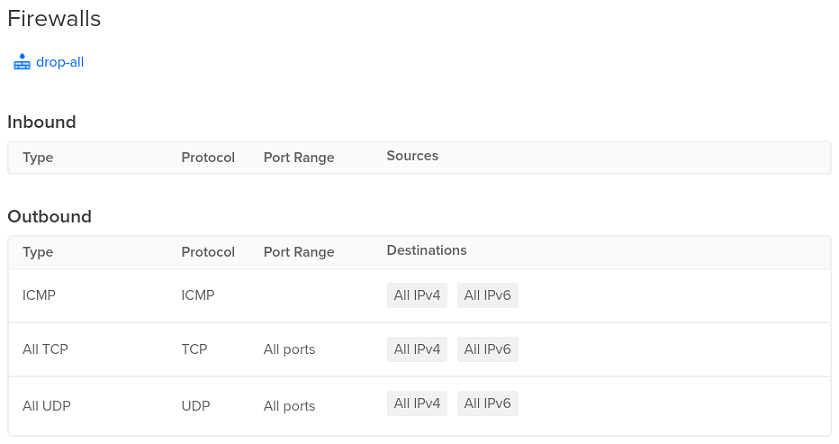
With the firewall completely closed, this server has now become much harder to discover, target and attack, inaccessible via its public IP. Next we will set up Enclave so that we can reach the server again via the Enclave private network from our developer workstations (again without opening any ports).
Install Enclave on your developer machine(s)
Install and enrol Enclave on your workstation. If you use Ubuntu Linux then this will be identical to the server instructions above. If you use a different OS then select the appropriate tab on the “Enrol a New System” page in the Enclave Portal and follow the instructions.
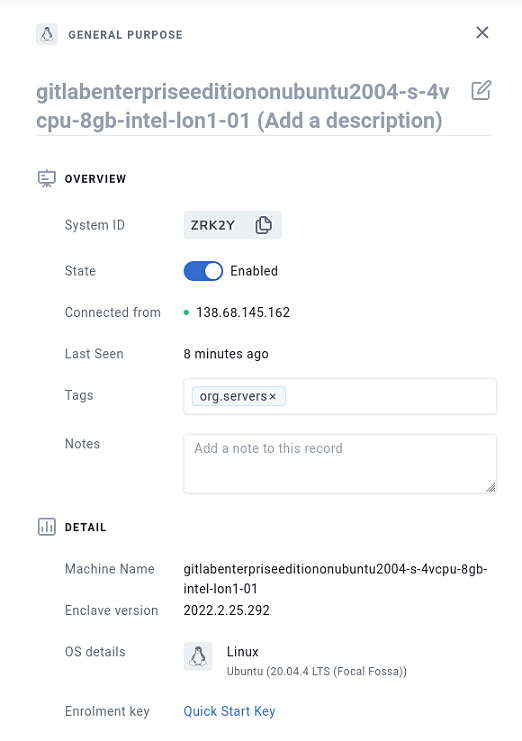
Once you have at least two systems enrolled, you can tag each and connect them by creating a policy in the Enclave web UI (or API). Select “Systems” (in the sidebar on the left under the “Manage” section) and find your server. By default it uses the hostname of the machine so will be called something like gitlabenterpriseeditiononubuntu2004-s-4vcpu-8gb-intel-lon1-01. Select the row and click the edit pencil (top right). Add a tag to describe the nature of the box, we’ve used org.servers for this tutorial (but you can call a tag just about anything you want), then “Save”. Do the same for your workstation, we used the tag org.workstations.
You can read more about Tags in Enclave here.
Now our systems are tagged, we’ll create a policy to allow systems tagged as org.workstations to connect with systems tagged as org.servers (but not the other way around).
Select “Policies” from the side bar under “Manage” in the Portal and create a new policy. We called ours “Server Access for Workstations”. Add the org.workstations tag to the senders and org.servers tag to the receivers, then save the policy.
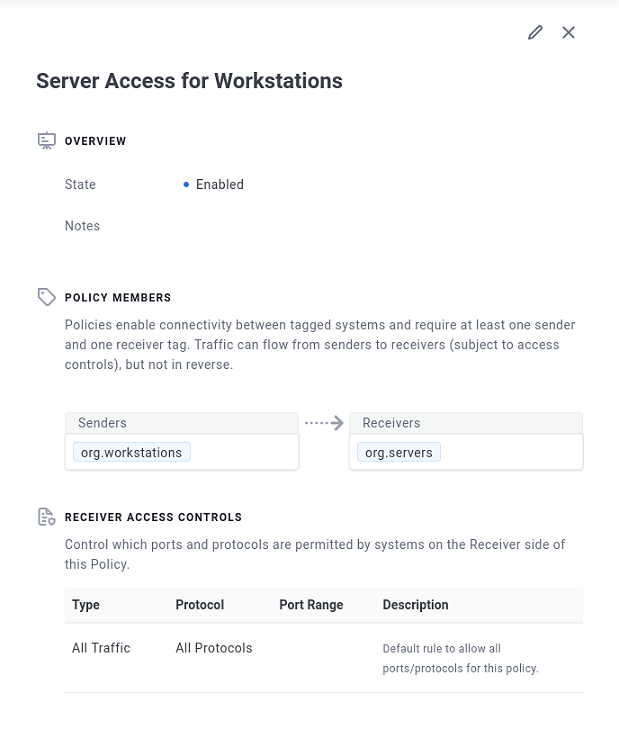
Once the policy is created, Enclave will automatically create the private connectivity between the machines. No open ports, firewalls, VPNs, IPs, subnets, ACLs, NSGs, VPCs, NAT, routing, VLANs, certificates or secret keys to configure.
Let’s have a look.
Using the Enclave network
In a local terminal run the following command.
1
enclave status
You will see something like the following as one of the listings.
1
2
3
4
5
6
7
8
9
10
11
12
Peer: K569Q (gitlabenterpriseeditiononubuntu2004-s-4vcpu-8gb-intel-lon1-01)

   Peer state. . . . . : Up
   Certificate . . . . : CN=K569Q Expires=Never (Perpetual Issue)
   Endpoint. . . . . . : Udp/165.22.118.85:44753
   MAC address . . . . : CE-98-20-F0-03-CC
   Last activity . . . : 0.05 seconds ago
   Transfer. . . . . . : 3.183 KB received, 3.757 KB sent, link rtt 36.86 ms
   Virtual network . . : 100.64.0.0/10 (255.192.0.0)
   Virtual address . . : 100.97.168.136
   Dns . . . . . . . . : k569q.id.enclave
   ACLs. . . . . . . . : deny [any] from peer -> local, allow [any] from local -> peer
We can now simply SSH into the server using the virtual IP address.
1
ssh root@100.97.168.136
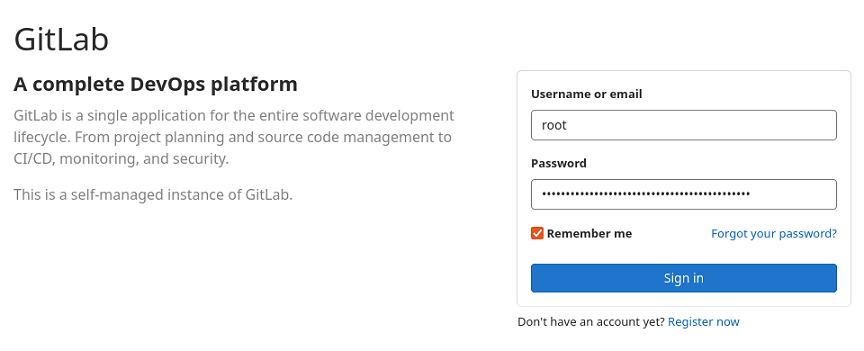
We can also connect over HTTP in a browser and securely complete the GitLab setup process by visiting http://100.97.168.136/ and logging in. Use the username root and the password shown when running cat /etc/gitlab/initial_root_password over SSH (you need to do this within the first 24 hours or this file will be deleted).
You can then change your password using the GitLab web UI and start setting up other users and SSH keys. You may notice that some of the URLs in the GitLab web interface use the droplet’s public IP but we can change this by editing the configuration file.
Open the file in your SSH session.
1
nano /etc/gitlab/gitlab.rb
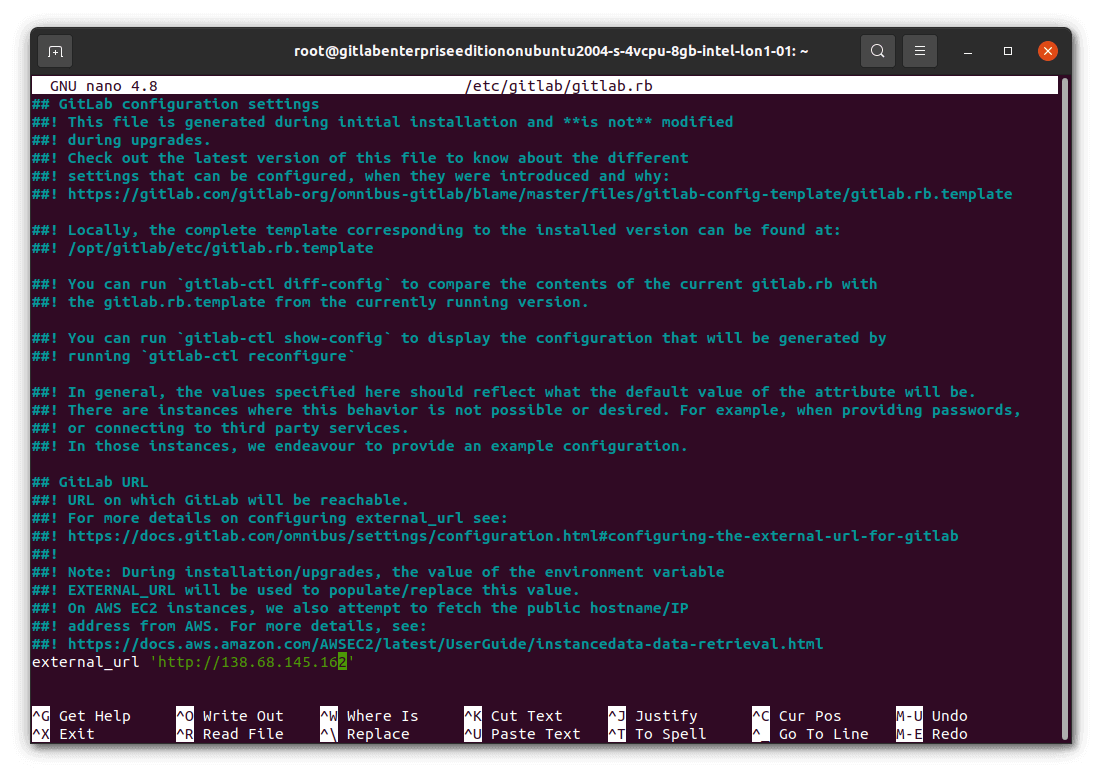
Change the external_url value to use the secure Enclave internal IP rather than the public one. Save the file (Ctrl + o), then reconfigure GitLab (gitlab-ctl reconfigure) so that the change takes effect. You will then see the correct URL in git clone instructions and elsewhere. In a production system you would want to use a fully qualified domain name (FQDN) from the Enclave DNS system instead of an IP address and set the EXTERNAL_URL environment variable so that this persists across upgrades.
You now have a taste for how quick, simple and flexible secure Zero Trust Network Access (ZTNA) can be. You can easily get to your GitLab instance without needing a VPN server, bastion host, jumpbox, Network Security Group (NSG) or Access Control List (ACL), and without exposing it to the public internet. If you would like to know more about Enclave then browse the documentation, tutorials, knowledge base, contact sales@enclave.io or sign up for the newsletter.