One thing I’ve always wondered when running my own personal media server is how do I ensure that my server is still running, up to date or accessible to friends and family when I’m not at home. Now there’s a few ways to do it;
- Open the relevant ports and use your public IP to SSH or RDP in
- Dynamic DNS services (such as No-IP or DynDNS) if your public IP changes
- Software such as Teamviewer or Chrome Remote Desktop
These solutions all work but all come with their own little caveats. For example with opening your ports and broadcasting to the internet you make your self vulnerable to hacking such as Zero-Day exploits. That’s not to mention that unless you request a static IP from your ISP, you may end up being unable to access your device at a later date. Dynamic DNS providers are similar in so much as it requires you to open ports however it does not fall into the same pitfalls with regards to losing connection due to IP changes. Now the last solution works really well if your server is running a GUI for example Windows Server but it doesn’t let you connect to for example a linux server without a GUI which for some users like myself is a massive deal breaker.
The Solution
That is where Enclave comes in. What Enclave has let me do is securely access my server from wherever I am. This means that I can manage my Fedora Server through a web browser using Cockpit with it’s own custom URL and no third party is aware it even exists.
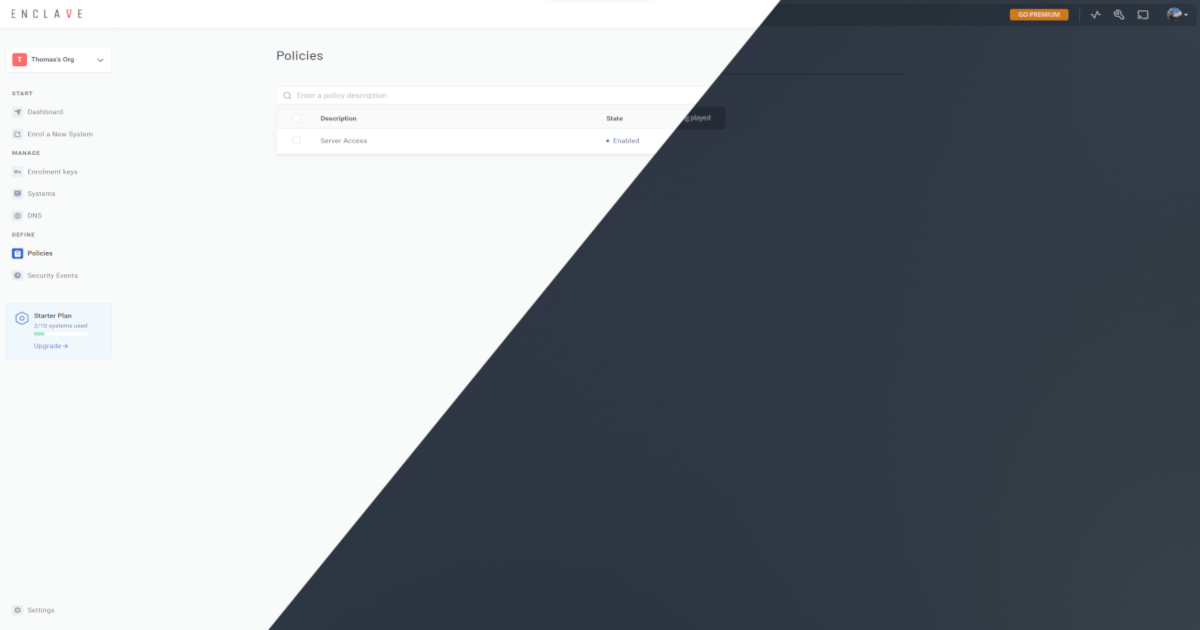
So how did I do it? Well to start I signed up for an Enclave Account. From here I downloaded and installed Enclave on my server and on my desktop. I provided both with the Default Enrolment Key that’s created when you sign up for Enclave. From here the systems we’ve just enrolled are shown in the systems section under “To Approve”. With a few extra clicks I can complete the device setup and approve the devices. The reason we have to approve a device is so we can be sure no unknown devices are on our network. Now they’re both approved I can begin setting up my policies.
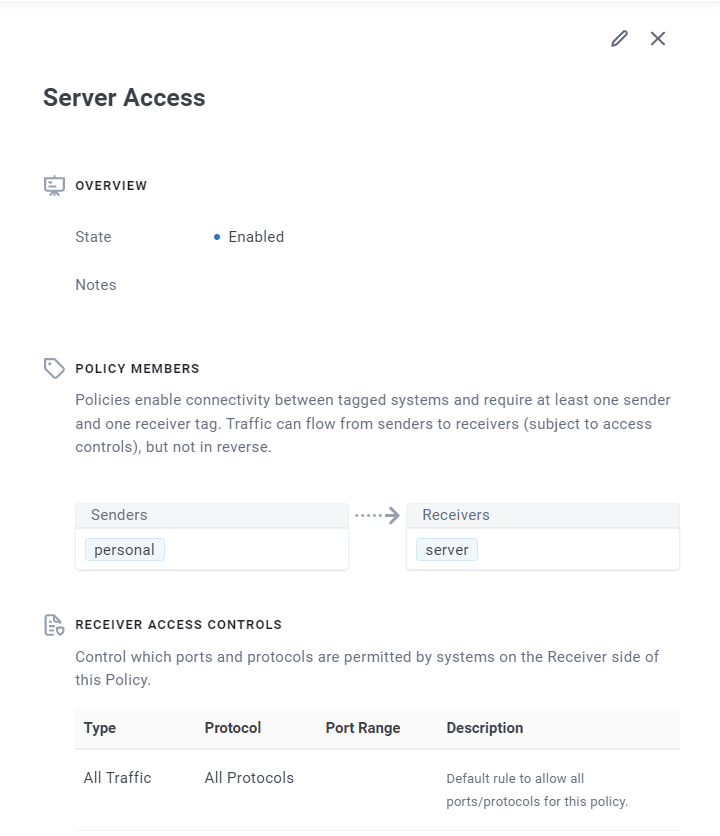
The policy to get this working is really simple. As you can see below I’ve set my personal devices as the sender and the my server as the receiver. I hit save and make sure to assign the tags to the appropriate systems. Once I hit save these changes are then sent to my devices and they can now talk to each other.
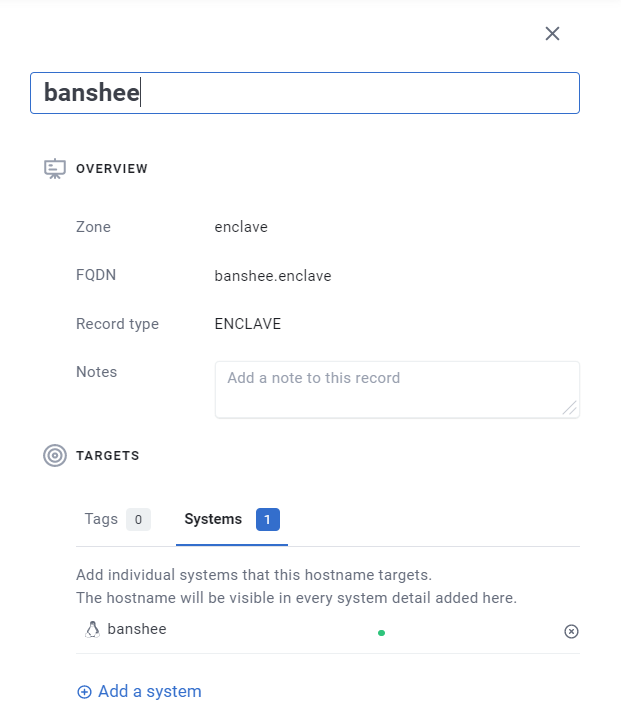
But wait Tom, didn’t you say I could have a custom URL? Good memory! Yes the URL is fairly simple to set up. First the URL is really just a hostname entry that can be used to form a URL. So to add a DNS record to your device it’s as simple as clicking on DNS on the left hand side of the portal, then creating a new record from here you can enter the hostname you’d like. One thing to note on the starter plan all URLs will end with .enclave but they can start and look however you like. I’ve gone with something simple banshee.enclave as that’s the name of my server which yes isn’t very imaginative but honestly it can be whatever you want. I then assigned it to the system I wanted it associated with, you guessed it! My server Banshee.
Now if I was using a Windows or Mac OS host all I’d need to do would be to go over to my browser type in banshee.enclave and a port. For example Cockpit uses 9090 so my full URL would look something like this https://banshee.enclave:9090 with this I can navigate to it in my browser and I’d get access to my server.
Linux DNS Setup
On my Fedora Server, there were a few extra steps to take to ensure the host was aware of my DNS rules (these will be made simpler in the future). The guide to doing so can be found on the Enclave Docs